by Barry Carter
If
you grow plants using ORMUS and wish to share your results here are
some hints for documenting these results in the most helpful way. These
hints are arranged from most important at the top to less important but
very helpful scientifically lower on the list:
1. Take lots of pictures of the plants and produce of these plants. I appreciate pictures more than anything else. If you just send pictures without any other measurements it is fine. If you want to improve the value of your pictures, however, you can do this in the following ways:


1. Take lots of pictures of the plants and produce of these plants. I appreciate pictures more than anything else. If you just send pictures without any other measurements it is fine. If you want to improve the value of your pictures, however, you can do this in the following ways:
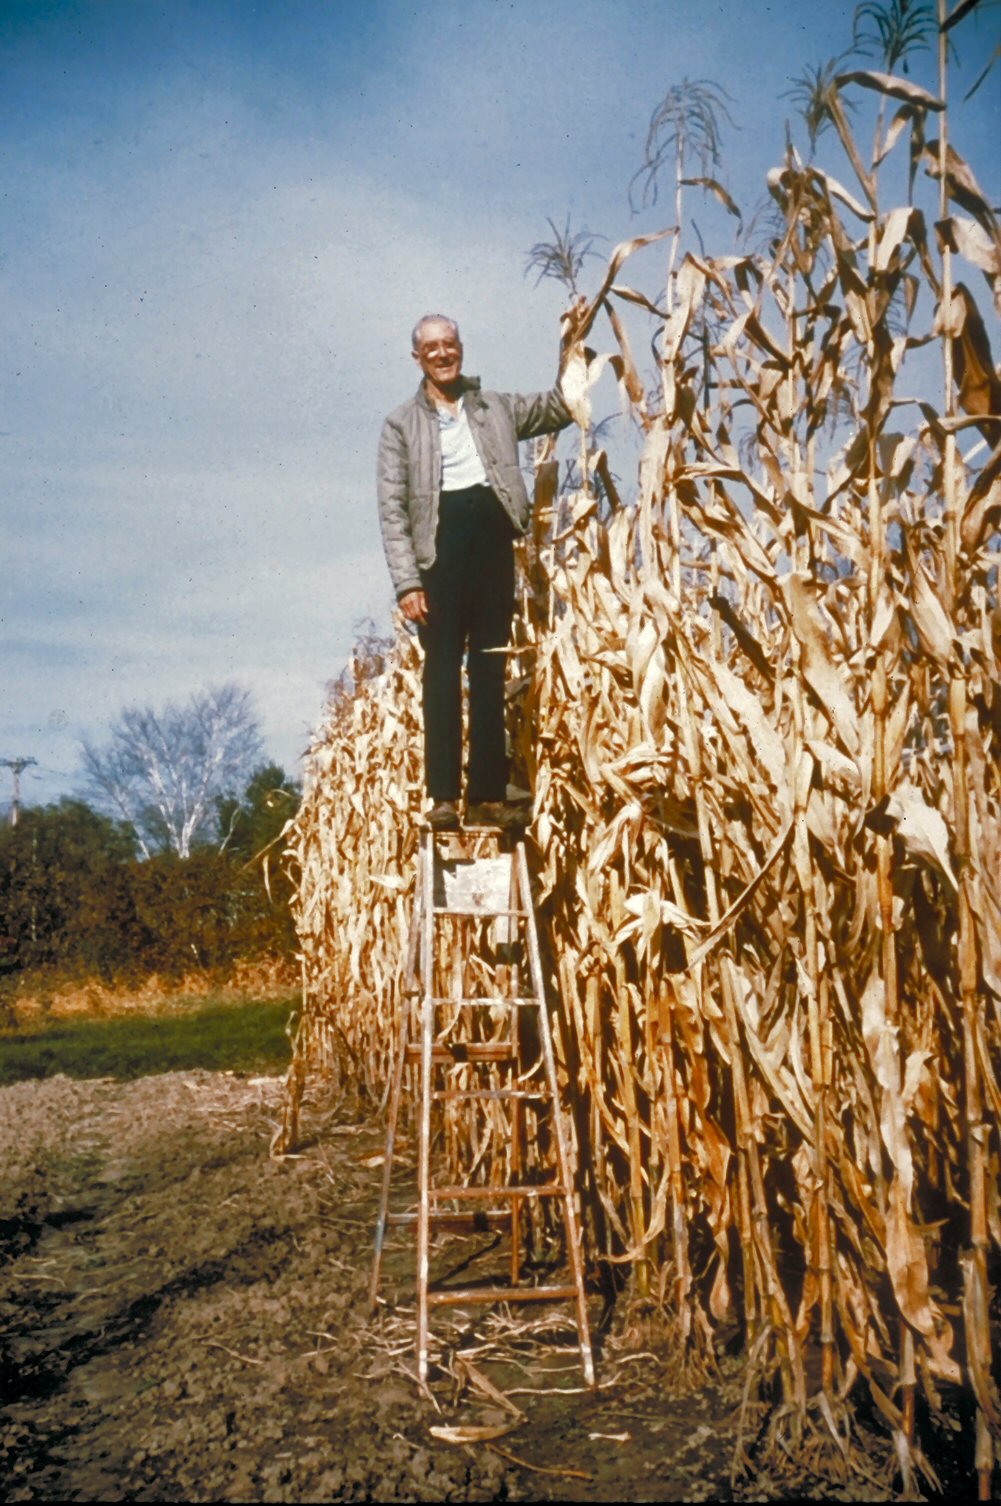
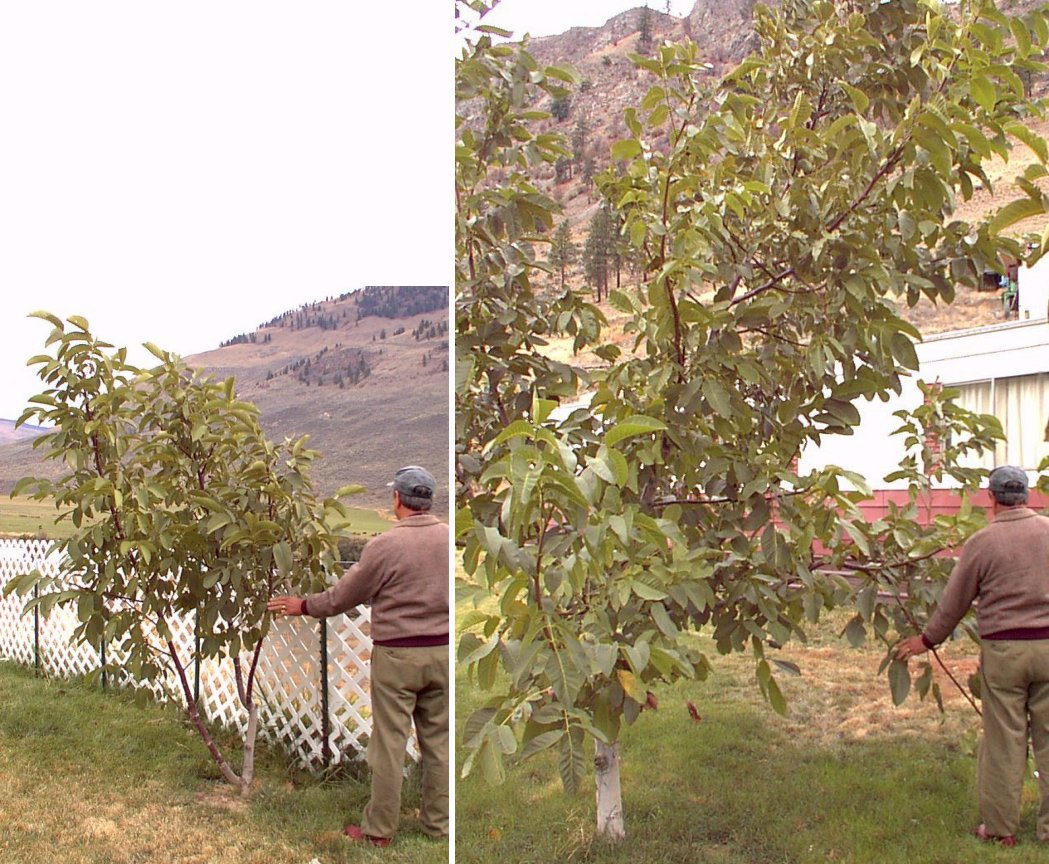
a. Include something else of
known size in the picture to help people see the size of your plants or
produce. If you are illustrating a large plant you can have someone
stand next to it to give an idea of its relative size as illustrated in
the pictures of raspberries, corn and walnut trees below.


b. Include a familiar object
of similar size if you are illustrating the size of produce like in the
pictures of oranges and walnuts below.

c. Include a ruler or tape
measure in your picture as illustrated in the pictures above and onions
below.

d. If you include a measuring
device in your picture it is
helpful if you orient it as close to horizontal or vertical as possible
in the picture. This makes it easy for me to copy a section of the
measuring device and paste it over the fruit or vegetable in the
picture and get an accurate idea of the size of the item as I did below:

e. It is also very helpful to
place the fruits or vegetables you are photographing on the floor with
a even colored background (like on a piece of paper or cardboard) so
that you can get a picture from directly above the produce. This helps
keep every item in the picture in the same relative size. A more
distant item will look smaller than a nearer item even though they may
be the same size. This can distort the proportions of a plant as you
can see in the picture below where the size of the root mass is
exaggerated because it is closer to the camera.

f. Notice also that the larger plants in the picture above are on the left. I prefer to have the "before" or "without" plants on the left and the "after" or "ORMUS" plants on the right. To do this with the picture above I flipped the picture and copied the yardstick from the original into the flipped picture as you can see below.

Using these rules I was able to compose the picture of plums
below from two pictures taken a year apart.

f. Notice also that the larger plants in the picture above are on the left. I prefer to have the "before" or "without" plants on the left and the "after" or "ORMUS" plants on the right. To do this with the picture above I flipped the picture and copied the yardstick from the original into the flipped picture as you can see below.


2. If you wish to do an actual
measured comparison between plants which had two different treatments
it is good to weigh the plants without the treatment and compare them
with the treatment. This is illustrated in the picture above and in the
pictures and text at: Sea-Crop Tests